Learn to paint Gorgeous Skies and Clouds

Paint Gorgeous Skies and Clouds: The Basics

Obviously, you can’t paint Clouds without painting at least a little sky.  Of course, you could just pick a blue and paint some white puffs on it, if that’s the look you’re going for.

As an artist myself and for most artists, we’re looking for something a bit more “realistic”.  We’re usually wanting to paint gorgeous skies and clouds that will accentuate the rest of our painting.  Or if not gorgeous, at least dramatic.    To achieve this, there are some basic “rules” for painting that have to do with color, texture and perspective that are helpful to note.

  1.  When painting the sky in a landscape, it’s important to  keep the upper corners a deeper value.  This is for 2 reasons: 1) in reality, the sky is deepest blue directly overhead and then gets lighter towards the horizon and, 2) In art terms, keeping the upper corners darker creates what I call a “frame”.  This framing causes the viewer to focus on the center of your painting and your focal point.  Notice the photo above.
  2. Also of note, the perspective changes when painting a scene  with many clouds (as in the photo), the clouds appear flat on the bottom and get closer as they recede into the distance.
  3. Clouds must have value changes within their form by using shadows and pure white only for the brightest highlight.
  4. For high drama, divide the canvas into 1/3’s with the top 2/3’s being a prominent sky area.  
  5. For less emphasis on sky, create only the top 1/3 or less as that area .

Types of Cloud Formations

There are 3 main types of cloud formations, with some variations, that we normally use in landscape and seascape paintings:

  1. Cumulus:  These are big, puffy formations that have flattish bases.  These are considered fair weather clouds,  although they can also darken into “storm” clouds.  For clouds to appear “fluffy” and have volume,  there must be a considerable amount of shadow colors within each cloud and cloud section.  Some of this may be “sky” color and added to this, grays and grayed violets may be helpful.
  2. Cirrus:  Sometimes referred to as Mare’s (horse) tails, these are more high level clouds.  They are very wispy and streaky and can add interest to an otherwise, smooth sky
  3. Stratus:  These are low-lying clouds, usually found at the horizon line and are fairly flat.  They may be gray and may cover the entire  sky (as in lifted fog).
paint skies and clouds

Colors for Skies by Season

Winter:      Winter skies are usually a crisp blue, especially in Northern climates:

                      Ultramarine Blue
                      White
                      Touch of Burnt  Sienna

Summer:   Summer skies appear warmer, sometimes tinged with Alizarin Crimson or even a touch of Thalo Blue.

                      Cerulean Blue 
                       White
                       Touch of Burnt Sienna

Sunset sky:  Because of the intensity of colors and the necessary use of Complimentary colors (those opposite each other on color wheel), Sunsets are best painted in a layered format, laying in the colors and blending just between colors, lightly .  Too much blending creates MUD.

paint skies and clouds
Beginners can learn to acrylic paint this Beautiful sunset

Basic Cloud colors

Basic Colors: As said before, clouds must be painted with many colors and values  besides White.  White on White looks completely flat with no Volume or texture.  

White
Yellow Ochre (? Cad Yellow Light)
Neutral gray (mixed from White+touch of BS+touch UMB
Grayed Violet (mixed from Dioxazine Purple+Touch of YO+ White)

Sunset or Sunrise (just before or just after):  I find these times of day, with their muted to brighter shades & values, easier to do if I paint the clouds first with basic colors and dry them.  Then I come back over them with various glazes (A glaze is made from water or clear glazing medium + a touch of color) blend with soft brushes.

Glaze Colors:  Alizarin Crimson, Yellow Ochre, YO+ touch of Cad Red Light (or Vermillion)

Don’t forget to add reflection colors to land or water below.

Paint gorgeous skies & cflouds
Sky at sunrise

Tools To Use for Painting Clouds

My favorite tools to paint gorgeous skies and clouds,  include large flat Taklon brushes, hog bristle filbert (a flat with the corners cut off), a small kitchen sponge, a sea sponge and depending on how big the canvas is, I might use a 6″ roller for Block-in, chip brushes and even a terry cloth towel.  When I was doing Commercial Faux Finishing, we did a lot of sky ceilings in bedrooms, kitchens and lanais.  I used whatever tool worked best for me to get the effect I wanted in the quickest amount of time.

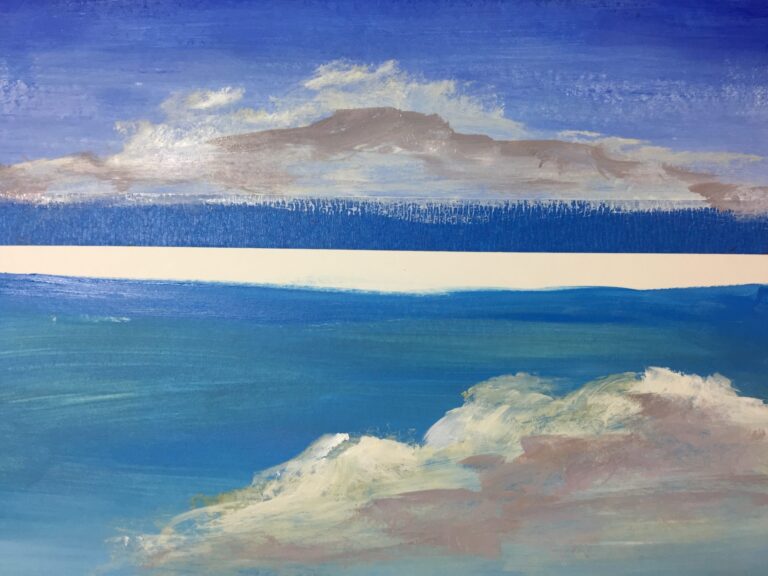
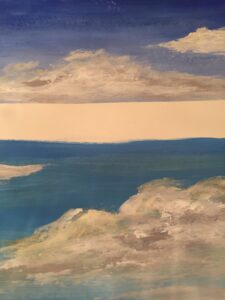
Another tool that I find useful is a piece of chalk or a chalk pencil.  I use this to sketch in my cloud shapes. Chalk is removed as it is painted over.   It is important to create cloud formations that are connected.  Little puffs (I sometimes refer to  them as potatoes) all over a sky is not a good design element and looks very busy and amateurish.

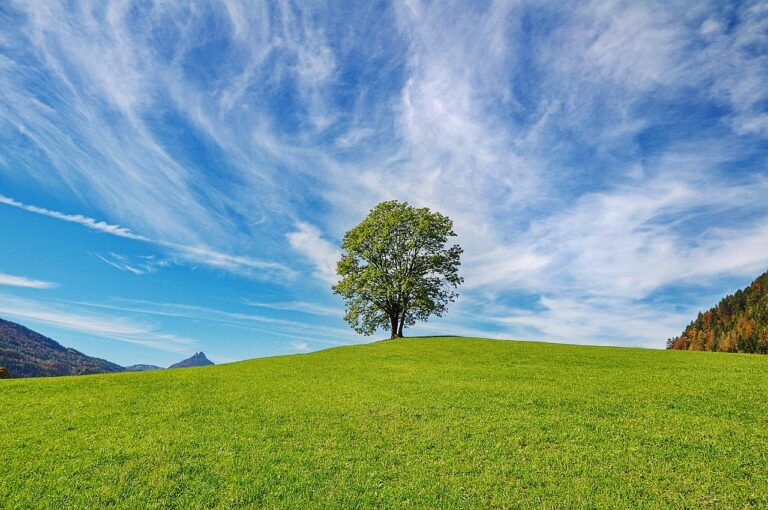
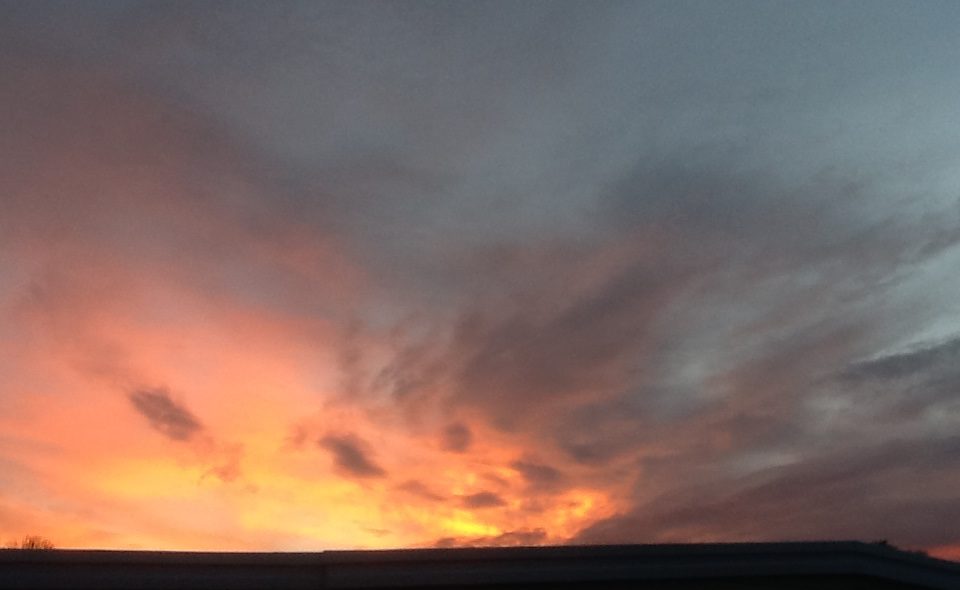
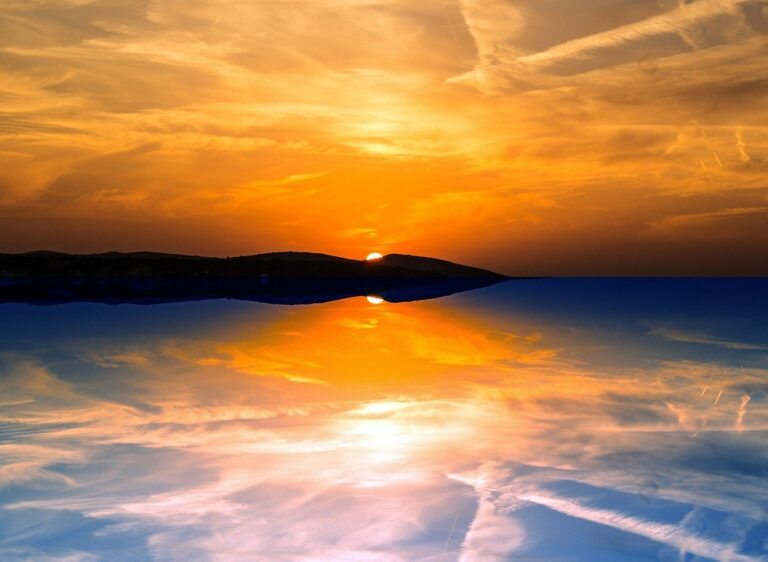
Another thing to keep in mind when working on your design, is that some of your cloud shapes need to go “OFF” the canvas to give them  the appearance of movement.  This will help to create that gorgeous realistic sky and cloud effect.

How To Paint a Cumulus Cloud Formation

Learn to paint gorgeous skies and cloudsskyies
learn to paint gorgeous skies and clouds

This photo shows the 2 main sky colors 1. top is Ultramarine Blue 2. bottom is painted with Cerulean Blue base.  Clouds have base color and  shadows only painted.

Same 2 Sky colors.  Could have highlights painted over shadow areas.

In reality, the tools you use for painting clouds doesn’t matter as much as your use of color, value and perspective.  It is so important to really see the color values in a cloud formation and to do this requires some serious “cloud watching”.  You must learn to be able to discern hard edges from soft and brightest edges from darkest ones.  You need to be able to  “see” one formation on TOP of another and recognize that the shadows behind help to build form and puffiness.


Tools that I have used include include all kinds of Sponges, rollers, chip brushes, my artist brushes, rags, pallet knives  and whatever helps me get the result I want in the most expedient way.  The only thing that determines the tools I use, is the size of the canvas or wall.  On something large scale, I block in using rollers.  On smaller canvases, I  block in with smaller sponges and  brushes.  All of this block-in is done using various values and shades of Shadows.